Hi, I’m Rachel and I’m feeling really good about my garden this year. *Hi Rachel.*
Every year that we’ve owned a house, I work tirelessly to till the old garden beds from the previous owners, amend the soil, plan, map, plant, and wait. And year after year, I have one issue after another that destroys over half of my garden. First, it was the lack of nutrients in the soil. Next, it was an overabundance of weeds (that would be the growing season Colt was born!). Then, year after year, an animal went real buck wild on all my plants. Rabbits, bugs, and my sweet dog, Sidney. Nothing I would do would seem to thwart them.
So this year, I made a plan that I’m sticking to and I’m feeling realll good about it.
First step to my dream garden, I built myself two 8′ x 4′ raised garden beds at the base of my yard where the sun shines brightly for almost 10 hours a day. No more reusing old dirt, no more dealing with an attack from every weed my yard would throw at me. I’m raising my garden up and I’m starting fresh!
For as popular as raised garden beds are, I was shocked to see that very few materials could be used that lasted more than 5 years before needing replaced. The number one material: cedar. Well, in the world of COVID, lumber prices are through the roof, and that already expensive piece of lumber is now at least double the price. How can I justify spending that amount of money and possibly need to replace before Mya is even in kindergarten? No thanks. Next.
Less expensive lumber risks the chance of rotting. Nope.
Treated wood will leach chemicals into my soil and then right into my organic fruit and vegetables. Absolutely not.
You can buy galvanized metal beds that are already pre-built at many big box stores and websites online. Each one was either far too small, too tall, or priced well beyond what can be justified for a garden.
Then it hit me. I want something permanent. I want something inexpensive. I want something that won’t leach into my soil. I want ease and I want cheap. Enter: Cinder blocks!
Priced at just over $1 each, I was able to build 64 square feet of garden beds for a little over $100 (having some materials like mortar and tools already helped cut the total cost for me). Yes, that’s correct. ONE HUNDRED DOLLARS. ONE garden bed made of cedar boards would cost upwards of $300. Double that and then add in the extra materials needed to build…and you haven’t even filled it yet. Cedar boards are beautiful but the idea of that cost and knowing that you’d have to rebuild in 5-10 years just doesn’t add up to me.
MATERIALS
- 36 – 16″ x 8″ x 8″ cinder blocks
- 44 – 16″ x 8″ x 4″ cinder caps
- 4 – 8″ x 8″ corner blocks
- Thin set mortar
- Square-notch trough
- Bucket
- Cardboard
- Landscape fabric
- Soil of choice – I used a 40/40/20 combination of enriched topsoil, compost, and potting soil
THE PROCESS

I chose to build my beds at the very bottom of my yard, along the fence line. With the trees in my backyard, I wanted a space that my beds would receive the most sunlight and be out of the way of dogs, kids, and our play areas.
I decided to create my beds with an open garden space of 8′ x 4.’ This allowed me to space plants out well and have enough room to grow all of my favorites, but without being too large that I couldn’t reach each and every square inch of my garden. Anything wider than 4′ creates a dicey situation to reach in the middle.
Because I’m such a visual person, I always have to map my spaces out on paper first. This allows me to put my ideas on paper, calculate amounts, and revisit it often to ensure I’m not making any mistakes prior to starting.

Cinder blocks are 16″ long and 8″ tall. To achieve my 8′ x 4′ x 12″ garden beds, I needed 6 blocks lengthwise and 3 blocks widthwise for each side. To achieve a more finished look and reach the 12″ height that I wanted for these beds, I purchased cinder block caps that measure 16″ long and 4″ tall. It’s a solid block of cement that tops the cored cinder blocks and creates a great smooth, finished surface for the top of the garden beds. I mapped those out using the dashed lines around the perimeter since it would need to overlap the corners, as well.
Finally, to achieve the 8′ x 4′ space inside, I needed to add 4- 8″x8″ square cinder blocks to each corner. Although my map is so roughly sketched, you can still see exactly what I was working with before purchasing anything.

Using Lowe’s curbside pick-up option, I went online, ordered the amount I needed and within 2 hours, we were having a skid steer load up a pallet of blocks into the bed of our truck. They did all the work for us to gather supplies, load together, and wrap it for easy transfer. I couldn’t be more thankful for the work they put in for us!
But then we got home with them… 🙂

We don’t have access to our backyard with the truck because of our wood fence, so it was a lot of trips with the wheelbarrow and maybe a sore back or two the next day, but just remember…you’re saving a TON of money!

And at least my helper was cute!

If the space you’re putting your garden beds is uneven, you will need to put the work into it to level it out. I had to dig out some areas where I was putting the cinder blocks and other areas I had to lift up because of the placement in my yard. I simply used my spade to lift out some of the sod and replace it on the other side to help level it all.
When you lay your blocks out around the area for your garden, you’ll more than likely be able to tell if you need to put any work into leveling the space as one will be higher/lower than others. To be precise, I placed our level on top of two blocks, moving around the garden perimeter and made my adjustments underneath the blocks as necessary.
When I was confident in where my blocks were placed, it was time to mix the mortar to secure the cinder caps. I estimated I needed about 1/2 of the 50 lb. bag of thinset that I purchased, so I adapted the instructions on the back of the bag to better suit the amount I was using.

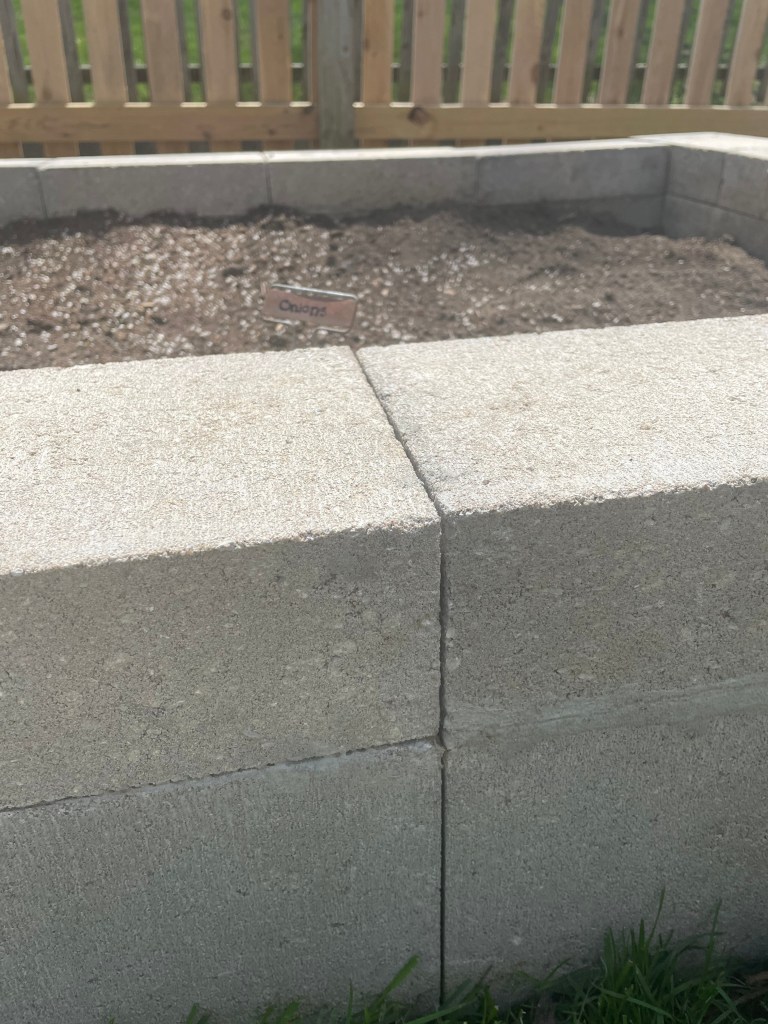
For each cap, I chose the side that was in the worse condition and scooped a large scoop of thin set using the flat edge of the trough. I smoothed it out until it reached all edges of the cap and then turned the trough to the square-notched side to slide across the thin set. (Use the handle to rest on the edge of the bucket after each use so you don’t have to worry about dirt, grass, etc. getting on your tool by setting it down)

Then, I placed each cap down gently on top of the cinder blocks and lined it up on all sides to be even with the block underneath and beside.

Continue this process, working your way around the garden bed perimeter.

As per instructions, do not walk on the cement blocks for 24 hours to allow the mortar to adhere and set properly. You don’t want to spend the time leveling out your blocks to put too much pressure on them and create some to become uneven.

You did it! Beds are built and your labor is going to be so rewarded, guys! You saved yourself money, you made something substantial, and you even got in a little exercise carrying those blocks! 🙂
Now it’s time to fill it! Some will work to till up the land under their garden beds to remove all grass and weeds. I felt that putting a few layers of weed protection down was going to be good enough for these beds. I’ll have to update this post at the end of the growing season and beyond to determine if I was right in this thinking!

For weed protection, I did two layers. First up, I broke down boxes we had in our garage and laid them down first, covering the entire 8′ x 4′ area. Next, I covered the cardboard with a landscape fabric for an additional layer of weed barrier. Even if this doesn’t completely fend off weeds, this will DRASTICALLY cut down on the amount of weeding necessary in the beds.

Finally, it was time to fill it. I chose to do a combination of 40% topsoil, 40% compost, and 20% (possibly less) of potting soil with added nutrients like vermiculite. To keep costs low, I purchased by the 1/2 yard instead of bags. You can save upwards of $50-60 just by purchasing in bulk!
COST BREAKDOWN
Here’s the cost of every material, giving you the total cost, if you started without anything. So, keep in mind your cost is going to be significantly lower if you already have the base materials (sandpaper, paintbrush, cleaning materials, etc.).
- 36 – 16″ x 8″ x 8″ cinder blocks – $64
- 44 – 16″ x 8″ x 4″ cinder caps – $61
- 4 – 8″ x 8″ corner blocks – $11.60
- Thin set mortar – $6.98
- Square-notch trough – $1.75
- Bucket
- Cardboard
- Landscape fabric – $42
- Soil of choice – I used a 40/40/20 combination of enriched topsoil, compost, and potting soil – $42
TOTAL COST: $229.33

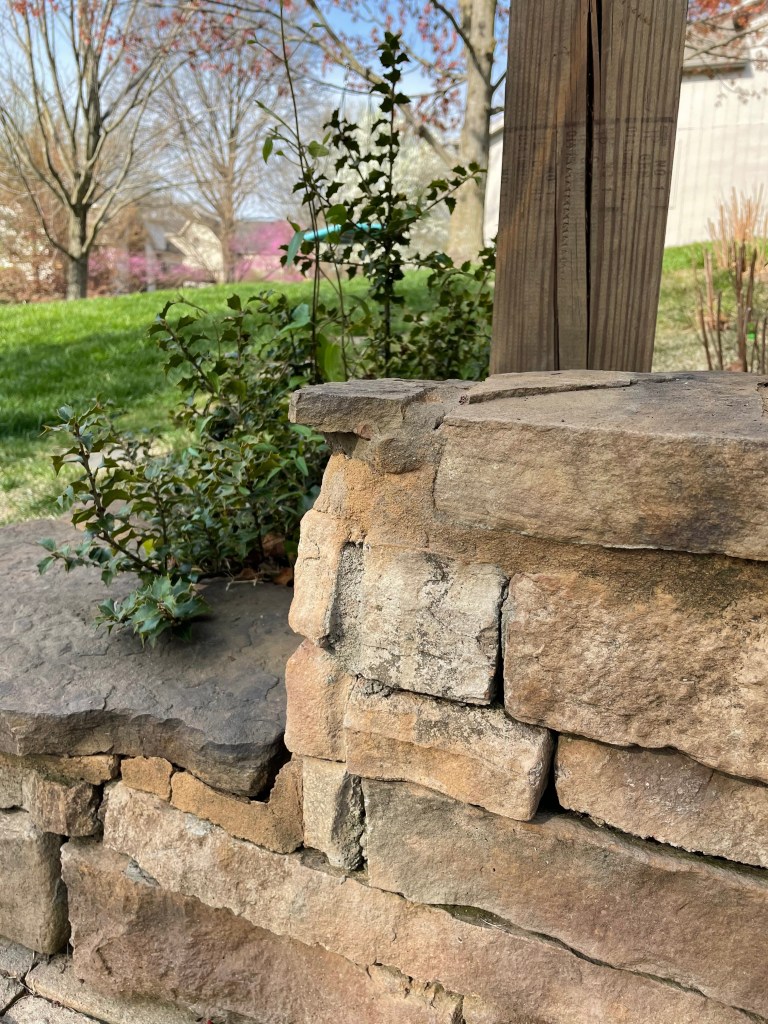
With this garden bed, my first priority is to take my clean slate and grow something beautiful with my family this year. I can’t wait to dig my hands in, care for my little veggies, and show my boys all that I learned growing up. Down the road, I’d love to take this cinder block look and cover it with a faux stone veneer that matches my pergola ledges. Something that ties the base of my yard with the top.
But that’s down the road. A long-term goal. My short-term is to get in there and make something magical this growing season. And I think I may just do it this year. ❤
xx Rachel

 Thin Brick Front Porch Tutorial
 Easy Wall Planters – Using Command Hooks!!
 Future Front Porch Design Dreams
 What I’m Gardening This Week: Mapping Your Garden and April Planting


[…] I DIYed our raised garden beds last year, I was able to move so many plants and herbs off the back porch and into the gardens. But […]