Who else is experiencing warm spring weather this week? My yard is blooming with buds on the trees, irises popping out of the ground, and daffodils blooming all over. I’m even typing this as I sit on my back porch and soak in so much sun. Keep. These. Days. Coming. My mood has shifted and skins tanning. Winter, winter, stay away!
As we keep rolling on my series What I’m Gardening This Week, I’m doing two small steps this week to getting the garden going: planting my cold weather greens (spinach and lettuce) and getting my clematis climbing-ready with an easy DIY trick I’m excited to share.
Planting Lettuce and Spinach

Last week, I walked you through how I Map my Garden Space and allocate the areas I’ll be planting together. This helps me plan the soil, space properly, and visualize my space before I start planting willy nilly around the yard. 🙂

When it comes to lettuce and spinach, I don’t plant much, and I don’t choose to space out my planting by weeks as I tend to lose track and still waste crops. Instead, I plant 3-4 heads each of spinach and lettuce. Whatever I don’t use when I harvest, I give to friends and neighbors. These greens aren’t typically used up quickly in our house (I’m the only one who eats them) so I plant small amounts and share the goodness with those around me.
Lettuce:
- Seeds can be planted directly into the soil
- Does not grow in soil temperatures above 80 degrees F, so plant seeds as soon as soil can be worked in the spring
- Start with a nutrient-rich, loose soil in a well-drained area of your garden
- Create a shallow row about 1/4″-1/2″ deep and place seeds into the trench — Lettuce varieties vary so much in spacing so refer to your seed packet as guidance
- Cover loosely with soil and compost mix
- Be sure area gets 1-2″ water a week
If you are interested in spreading out the harvest, or succession planting, you can sow seeds every two weeks.
Spinach:
Spinach is a little more finicky of a crop to grow. It’s one of the very few greens that prefers a high pH, or a neutral or alkaline soil, (7.0 or above) and may need to have fertilizer worked into the soil before planting the seeds. My best advice is as follows:
- Work a complete fertilizer and compost into the soil from about 4″ deep into the soil. Spinach is a heavy feeder so the more nutrient-rich, the better.
- Dig a shallow trench in rows about 18″ apart from one another
- Sprinkle spinach seeds about an inch apart into the trench and cover with about 1/2″ of soil.
- As seedlings emerge, thin the crop to about 1 plant every 3-5″ inches apart
- Keep water moist, ensuring the crop gets about 2″ of water a week
- Don’t be shy about spraying on additional fertilizer every two weeks to the crops – a vigorous spinach is the tastiest ones!
Clematis Netting
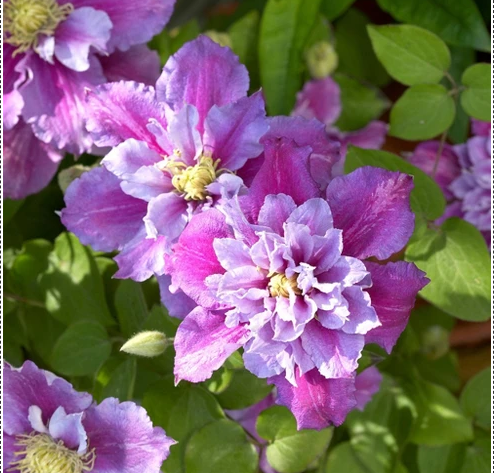
This is one of those DIY projects that I’ve been so excited to share, and when I saw those clematis vines popping up this week, I knew it was time to share this simple DIY that saves so much money and stress.
In our sweet little Fixer Upper, we have a beautiful outdoor space that the previous owners worked meticulously. They put in a beautiful deck with iron railings and a pergola standing over a brick paver patio below, complete with rock walls to enclose the space and add that touch of privacy. The projects had to have cost so much money and took considerable planning, and I couldn’t be more thankful for their work.
Last spring, I realized that they had spaced beautiful cleamtis plants all around the pergola that were growing fast and furious come spring time. I was so ill-prepared and threw together every kind of trellis I could create to allow them to climb up to the top of the pergola. Didn’t look pretty. DIdn’t work as well as I would have liked.
Come this year, I’ve been scouring Pinterest, looking at all the beautiful trellis ideas and had planned more than one privacy fence for the vines to grow up.


Beautiful. A standout feature of the home. But also far too expensive and way too out of my budget to get going before these vines take hold and needs something to help them grow up.
The easy DIY method? Bird netting!

This particular one measures 7′ x 20.’ I simply stapled it up on the pergola top, along the posts, and staked into the ground at the base.

Nearly invisible with its thin mesh and color, and a perfect area for the vines and flowers and maneuver upwards and reach the top of the pergola to have a show-stopping privacy fence of flowers. And at $7, I’ll save my hundred dollar fences for another year. 🙂


xx Rachel

 Raised Garden Bed Tutorial
 What I’m Gardening This Week: Light Summer Pruning my Roses
 What I’m Gardening This Week: Watering Schedule
 What I’m Gardening This Week: Carrots!


Leave a Reply